Did you know the color you paint your rooms can increase your house’s value? If you plan to sell your house down the road, consider refreshing the rooms in your home.
Are you looking for interior house painting tips? Not to worry! In this guide, we’ll go over DIY house painting tips to boost your home’s value and look.
Want to learn more? Keep reading.
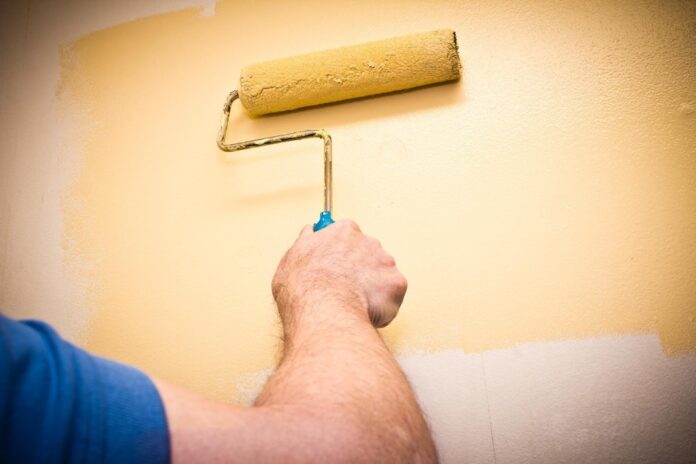
1. Buy Quality Brushes and Roller Covers
Don’t pick up cheap roller covers because they will leave lint and fuzz on your walls. Once the lint or fuzz becomes embedded in the paint and dries, you will have bumpy walls. Bumpy walls aren’t easy to fix.

Cheap brushes will leave streaky brush marks all over your walls. Pay a little more for your brushes and roller covers. Your surface will have a better finish.
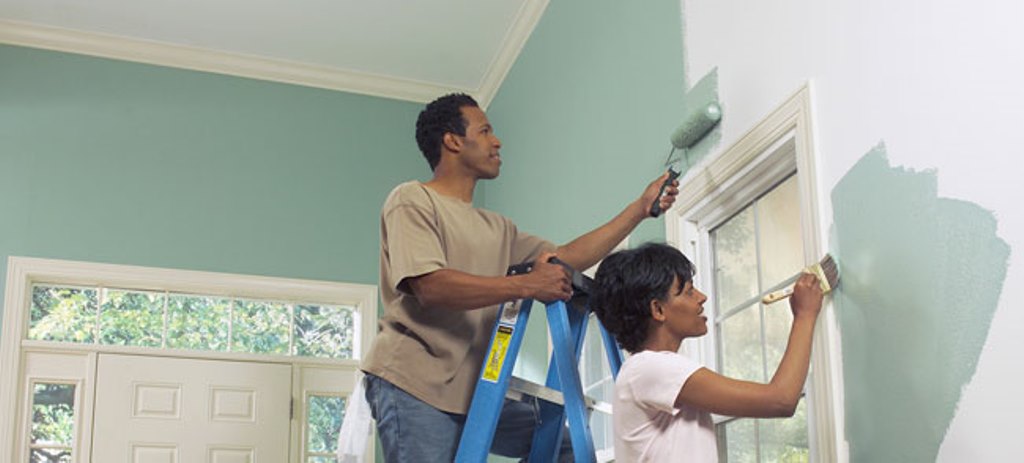
2. What Colors Should You Choose?
When considering paint colors, you could choose between warm or cold colors. You could pair cooler hues like greens and blues together. Another nice pairing includes a mix of warm neutrals like rich brown with soft beige.
Some people prefer a monochromatic color scheme. Choose colors within the same hue that have a different tone.
What about complementary colors? Opposite colors on the color wheel can look beautiful when paired together. Have fun picking out colors for the rooms in your home.
3. Buy Quality Paint
Higher quality paints have strong pigments. The most expensive pigment is titanium dioxide, a pure white powder.
Cheaper paints used pigments like silica and clay. You will have to use more coats of cheap paint to hide imperfections or old paint.
Premium paint will also have better resins. Resins are what make the paint stick, making it longer lasting and durable.
4. Clean the Surface First
You’ll want to go to a hardware store and pick up a tack cloth. A tack cloth is a useful and cheap painting tool that you can use to clean the surface before painting.
The cloth can pull off debris, wood shavings, and sawdust from the walls. Use your tack cloth on cabinets, doors, and trim. Don’t press hard with the material.
If you can’t find a tack cloth, try using a damp cloth but squeeze out all the excess water.
5. Test the Paint First
You’ll want to conduct a duct tape test. Before painting, you’ll want to make sure the existing surface will take the new paint and hold it. Get a good sense of the surface by testing it with a strip of duct tape.
Lay a piece of new duct tape across the surface and then rip it off. Does the paint come off? If big flakes come off, you’ll need to scrape the paint off and sand the area.
6. Use Nitrile or Latex Gloves
Wear latex gloves when you go to paint your home. This way, your hands will remain clean.
Water-based interior latex paint will come off your hands. Are you using oil-based or enamel paint? Cleaning it off will be a little more difficult.
If you’re allergic to latex, use a similar type of glove called nitrile.
7. Use a Lot of Low-Stick Painter’s Tape
Blue tape, or painter’s tape, has a low-stick adhesive. The tape will come off in an effortless manner, but doesn’t peel off existing paint or primer.
Painter’s tape is a bit expensive, but it’s worth the cost. Apply it to the edges of all the surfaces that you won’t paint, like the junction between ceilings and walls.
8. Keep a Wet Edge
You can avoid overlap marks by keeping a wet edge. As you paint, make sure you work away from the edge.
Glossy paint will show overlap marks more than other paint. If you use glossy or semi-gloss paint, you will need to pay attention and maintain a wet edge.
With a matte or flat paint, there isn’t a danger of overlap marks.
9. Use Masking Film
Professional painters will use masking film. Masking film is a plastic, thin sheet that you can buy in folded up squares or rolls.
The thinness of the plastic is why it works well. Thicker plastic that gets used to cover furniture won’t work. Masking film will hold onto flat surfaces and stay in the same position.
You won’t have to tape it down, because static electricity holds it in place.
10. Don’t Forget to Wrap the Roller or Brush
After you’re done painting for the day, you will need to clean and pack up. Most people dread cleaning the rollers and brushes. Brushes are a bit difficult to clean, but try using a paint comb.
Roller covers are trickier. Sometimes no matter how much you wash, the roller dries out too stiff. To sidestep this stage, you could try preserving your brush or roller cover with the paint. Only do this if you are going to return to paint soon.
You can freeze the roller or brush in a plastic bag. Place them in the bag and put it inside the freezer. The cold air will preserve the roller or brush. Give the brush or roller cover time to thaw before you return to paint.
If you don’t want to put them in a freezer, you can wrap them in plastic and keep them in a garage or room.
Make sure the plastic’s tied, so the roller or brush is airtight. By keeping it at room temperature, you can preserve the roller cover or brush for the day.
Have fun with your paint job. Learn about the signs that it’s time to repaint your house.
Now You Know Interior House Painting Tips
We hope this guide on easy house painting tips was helpful. Take the time to pick up the proper tools and make sure you get quality paint. Use these interior house painting tips to finish painting your home.
Keep browsing our other helpful resources about home decor and real estate.